Introduction
Players are an important concept in games. The default player already has basic functions such as HP, movement, and backpack. Editing the player allows you to customize the player’s functions, properties, or appearance and Animation. This article will introduce the important concept of the player from two aspects: the player module and the player script.
The player module can be used to set up the player before the game starts.
The player script can be used to make adjustments to the player while the game is running.
Players exist in the game as instances of the player entity, which means that edits in the module will be mapped to each created player entity instance. For scripts, you need to pay attention to whether the scope of the effect is “a specific player” or “all players”.
Player module
The player module allows you to set various properties of the player so that the player starts the game in the state you want.
The player module corresponds to the player entity, and changes here will take effect for each created player in the game.
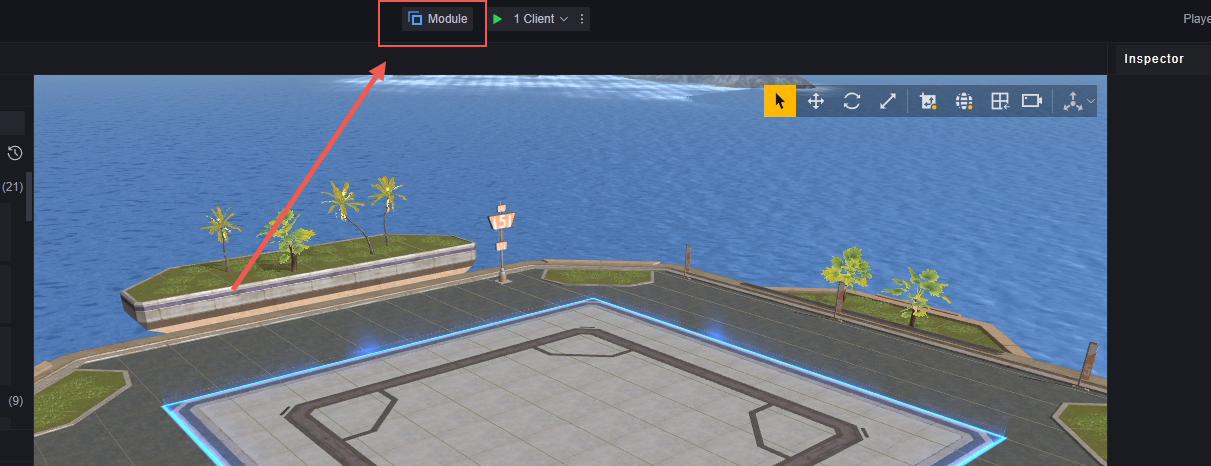
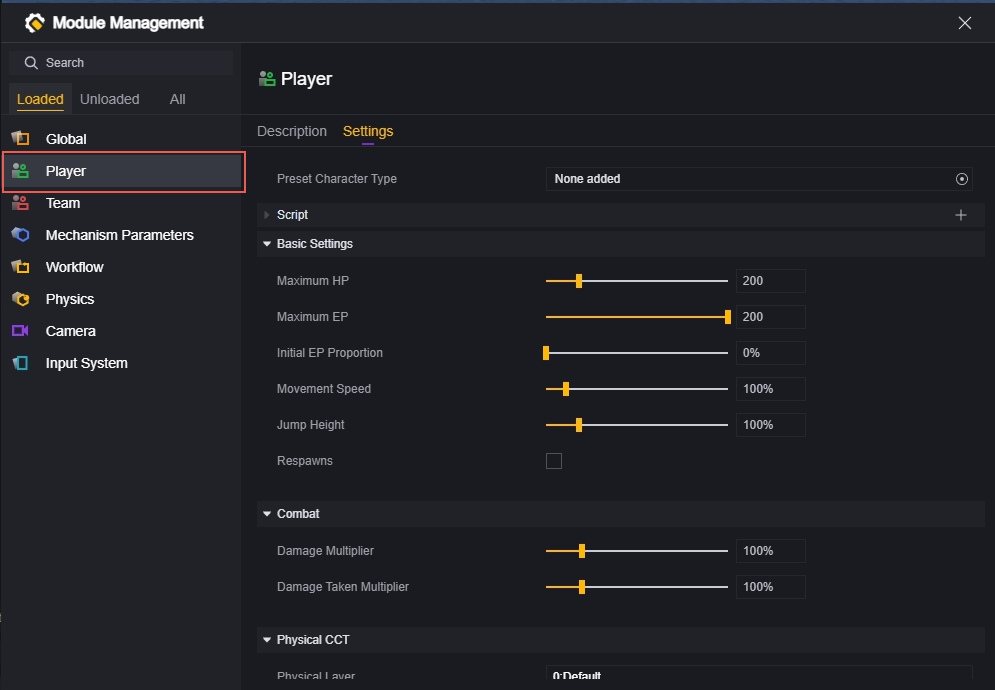
Go to the Player menu in the editor module:
Default player type
In this setting, you can use custom player assets instead of the default image. This means you can make the player look different and use custom Animations in part or in full.
How to create a player profile:
Create a new player profile in Project > Assets:
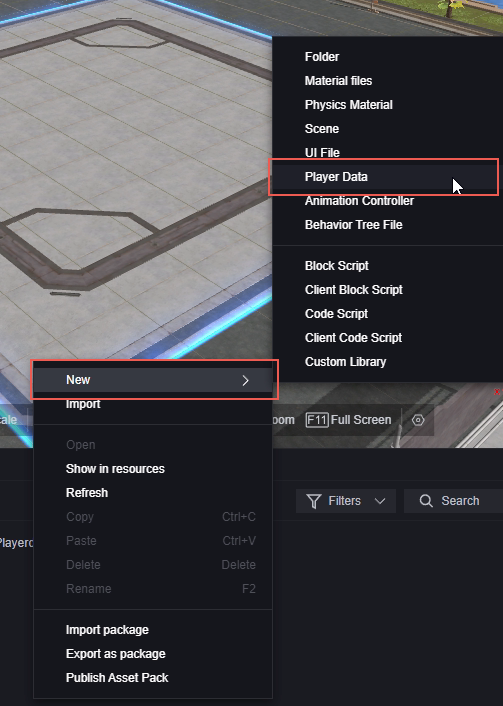
The Player Data file contains the model and Animation resources used by the player.
How to edit player data:
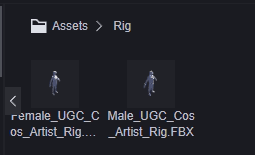
First, you need to prepare the required models and Animation resources. For the character model, we recommend using a rig that matches the default model in your local editor path under resources/LocalData/Utilities/UGC_Cos_Artist_Rig.
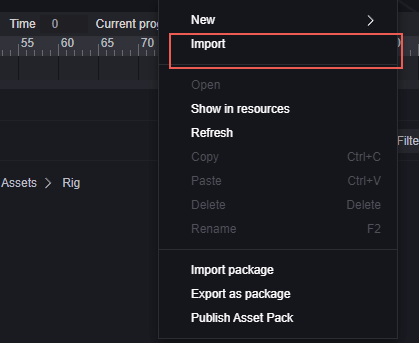
Add resources:
Character model (example):
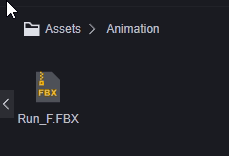
Character Animation (example):
Double-click the newly created player data file to open the edit screen:
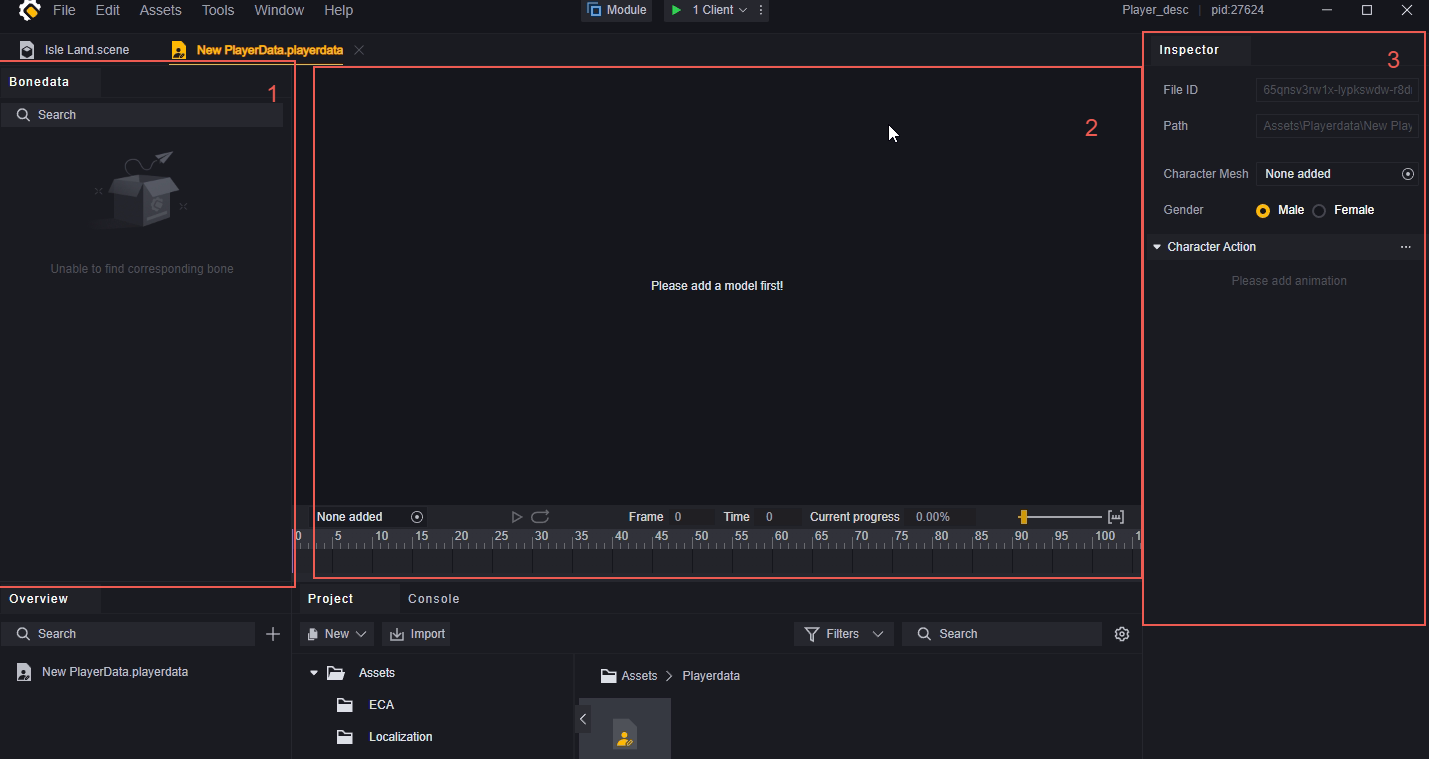
- Rig data
- Preview window
- Edit window
First, in the 3. edit window, you need to select the character model you need and select the gender.

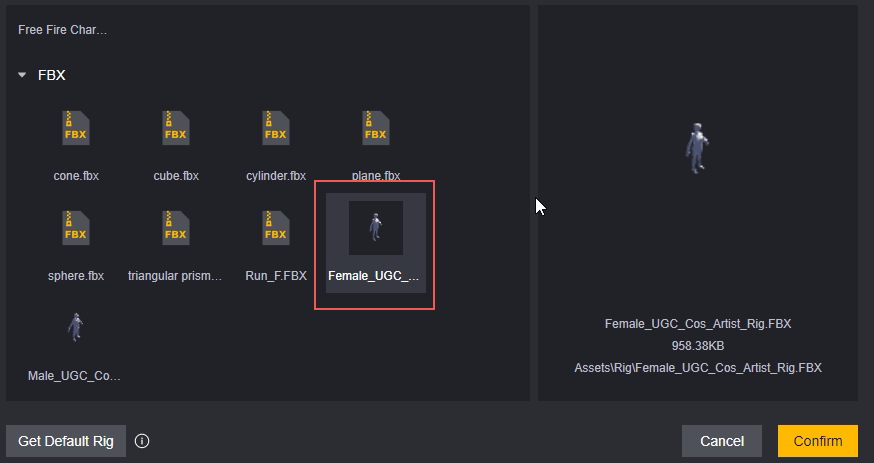
You can also quickly modify the model used by dragging the model in the asset interface to the 2. preview interface.

Here we are using a female model as an example, so we select Female.
After adding the model, you can already see what it looks like in the 2. preview screen. Here it is just a white model for demonstration purposes.
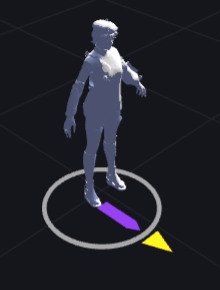
You can zoom in and out using the scroll wheel and rotate the camera by holding down the right mouse button to view the details of the model.
Add the animation you want to preview for this model in the bottom left corner to see how it looks on the model:

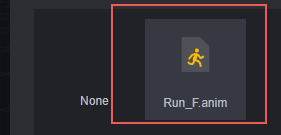

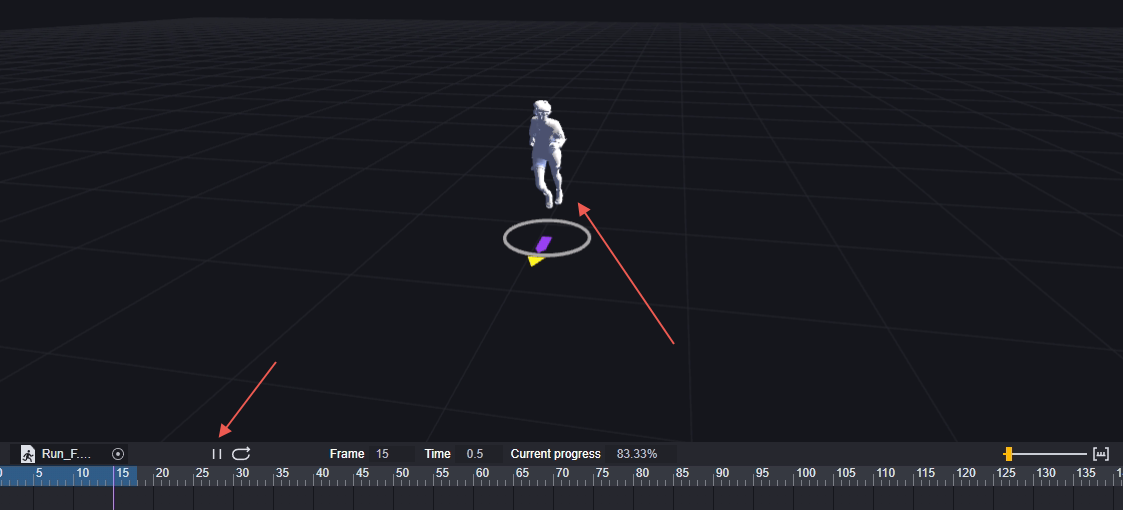
The preview of the animation below now displays information about the animation. Click Play to preview:
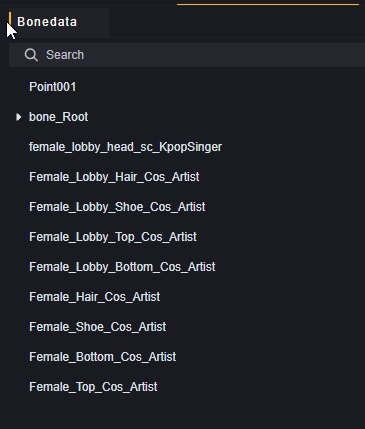
In 1. Rig Data, you can view the rig of the model:
After preparing the model, you can add the types of animations you want to modify in the Character Animations window in the 3. Editing window, for example, modify running and standing. Animations that are not modified will play the default animations.
As a demonstration, we add a standing idle animation:
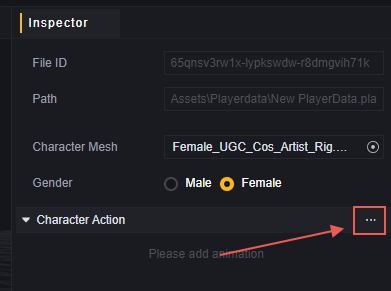
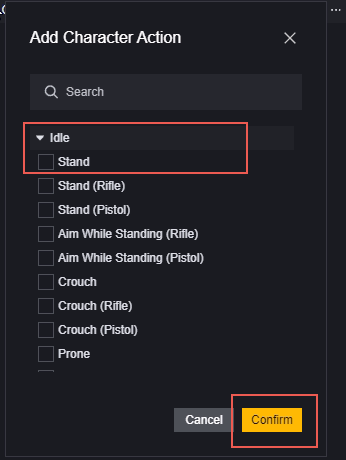
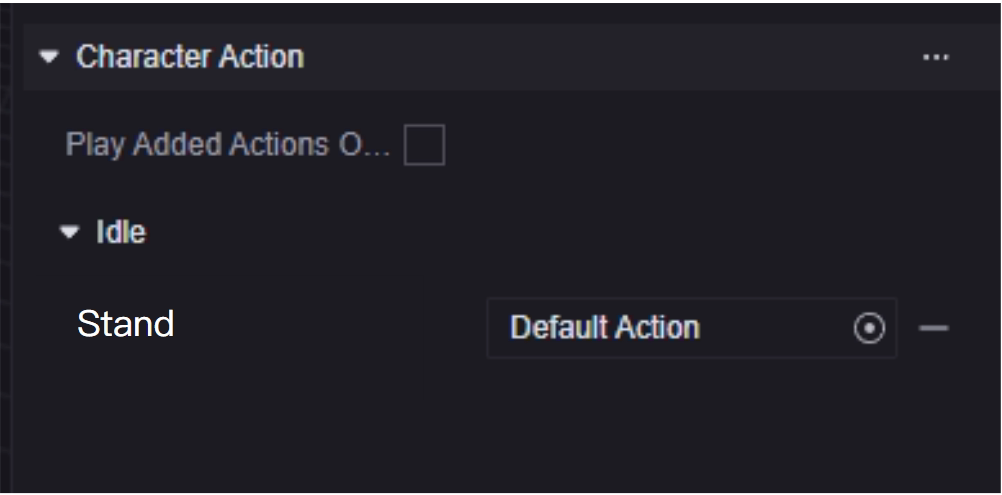
Modify this animation, and when the game needs the player character to play standing idle, it will play the custom animation you added.
This is for demonstration purposes only. We have configured the running animation to play during standing idle. Please note that this will result in strange behavior. In actual operation, please add the appropriate animation to the appropriate trigger scene according to your design.
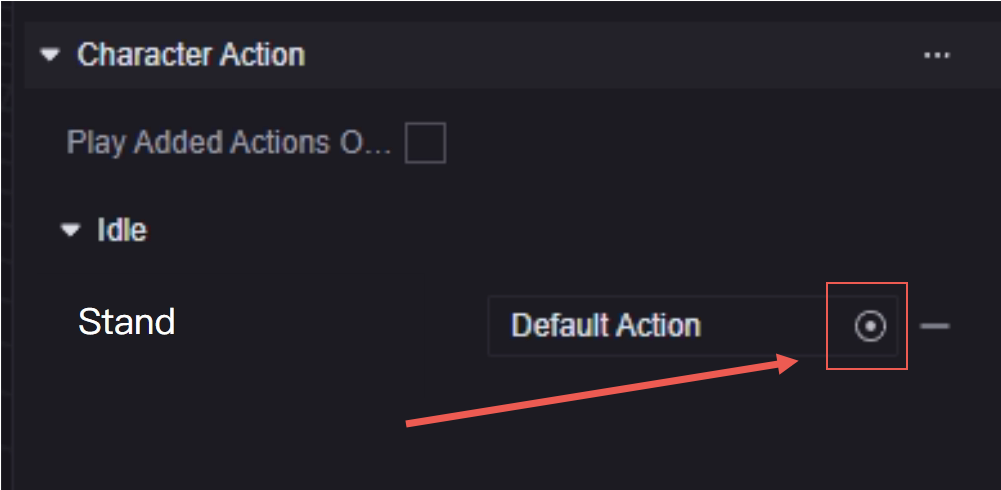
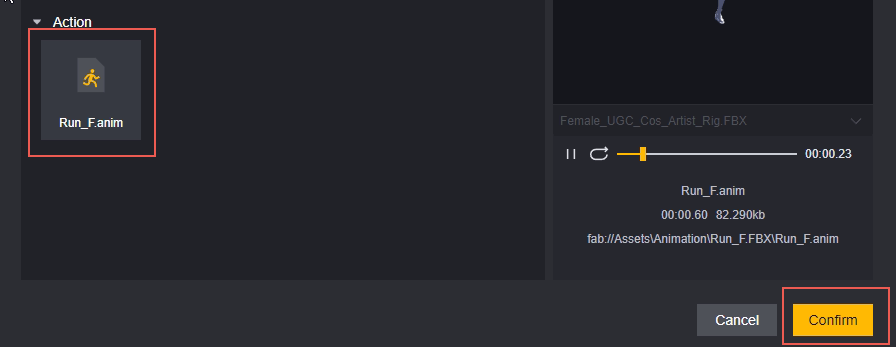
This way, the player data will modify the player as follows:
- The player model is replaced with a white model of a female.
- The player’s standing idle is replaced with a running animation.
How to add player data to a player:
Configuring in the module will apply the player data to all players:

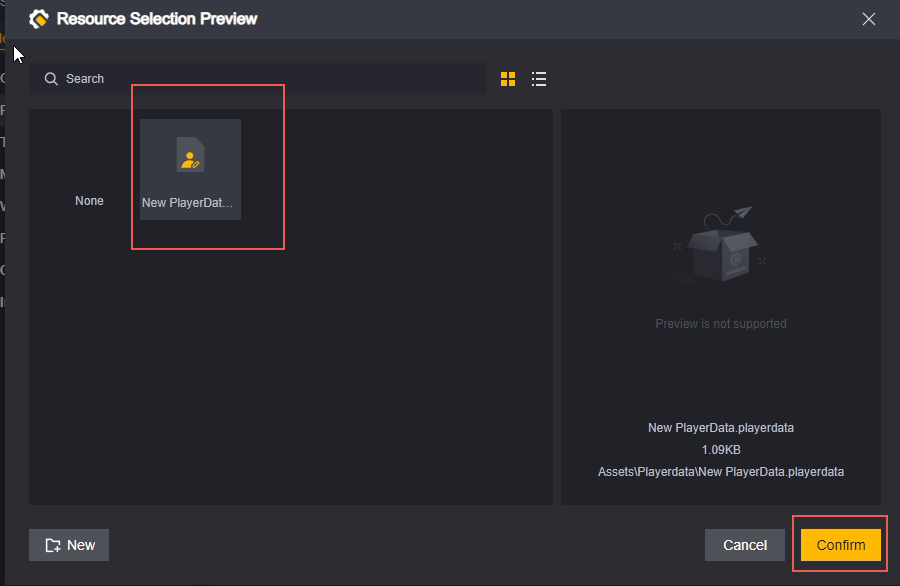

In-game performance:
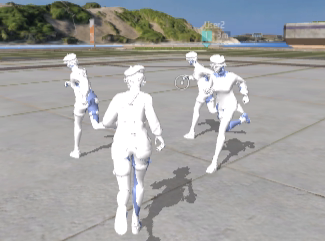
Everyone performs running animations when they should be standing idle, without actually moving.
When performing other actions, the default animations for the corresponding gender are still played:
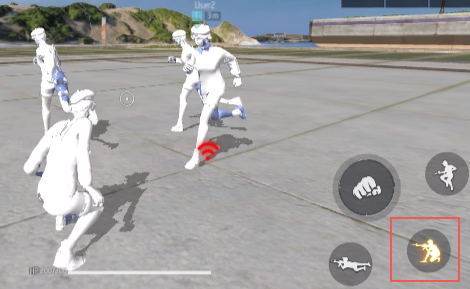
If the Animation is not fully replaced, playing the default Animation with a non-standard rig may result in very strange behavior.
If you only want to modify the Player data for a specific Player, you can do this by using a specific node in the script:

This node can add specified player data for a specific player, which can be triggered for the specified player according to your needs or after meeting the appropriate conditions.
Script
You can attach scripts to player entities, and the configured scripts will be attached to each player at runtime.


You can add existing scripts or create new ones:
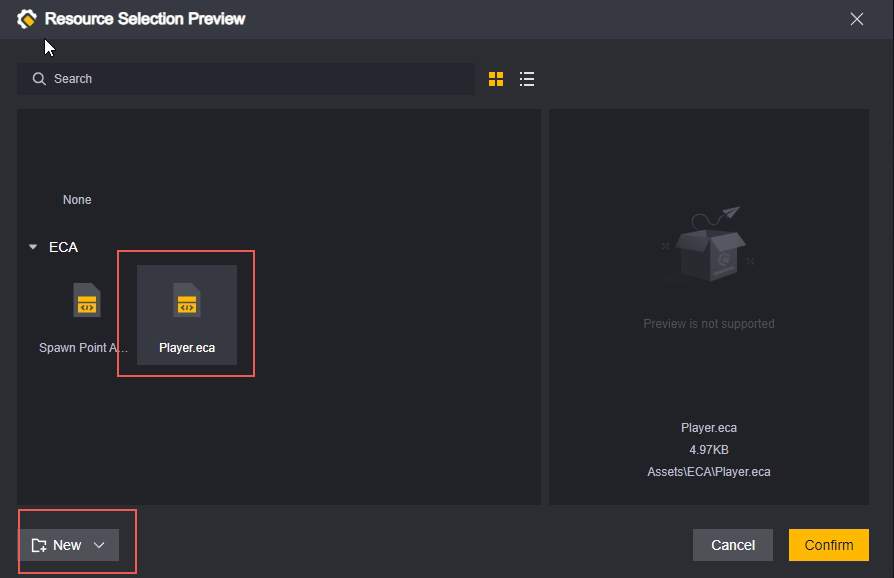

For script content, please refer to the Player Scripts section below.
Basic settings
Set the basic properties of the player:
Max HP: The maximum health of the player, range 20-1000.
Max EP: The maximum EP of the player, range 0-200.
Initial EP Ratio: The initial EP of the player = Initial EP Ratio * Max EP, range 0%-100%.
Movement speed: The scaling ratio of movement speed. Less than 100% is slower than the default speed, and more than 100% is faster than the default speed. Range: 50%-500%.
Jump height: The scaling ratio of jump height. Less than 100% is lower than the default height, and more than 100% is higher than the default height. Range: 10%-500%.
Respawn: When checked, the player will respawn after death, and a respawn wait time configuration is added.
Respawn waiting time: Only appears after rebirth is checked. How long to wait after death to be reborn, range 0-9999 seconds.
Modifications to movement speed and jump height will change the player’s initial movement speed and jump height. The player’s default movement speed scaling and jump height scaling properties will still be 1. Modifying these two properties in the script will scale them based on the configuration in the module.
Combat
Set the player’s combat attributes:
Damage multiplier: the amount of damage dealt, less than 100% is lower than the default damage, and greater than 100% is higher than the default damage. Range 0%-500%.
Damage taken multiplier: the amount of damage taken, less than 100% is lower than the default damage, and greater than 100% is higher than the default damage. Range 0%-500%.
The same as movement speed and jump height, the modification of damage multiplier and damage taken multiplier will change the player’s initial damage and damage taken. The player’s default damage multiplier and damage taken percentage properties are still 1. Modifying these two properties in the script is a scaling modification based on the configuration in the module.
Player controller with physics
Physics layer: Determines the layer where the player’s physics is located. Whether collisions occur at different layers depends on the physics configuration.
Configure a non-default physics layer for the player:

Disable the collision of the Custom and default layers in the physics configuration:
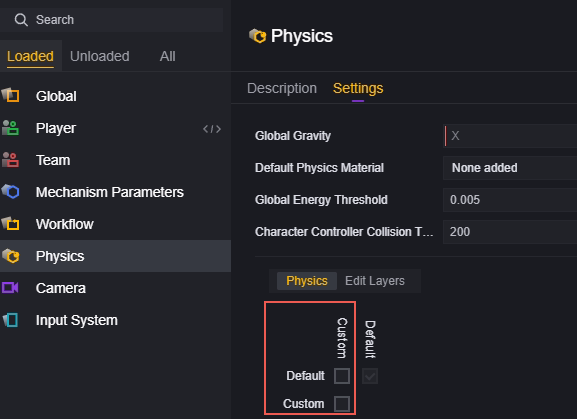
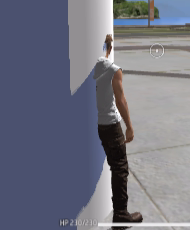
You will see that the player can pass through any object in the default physics layer without feeling it:
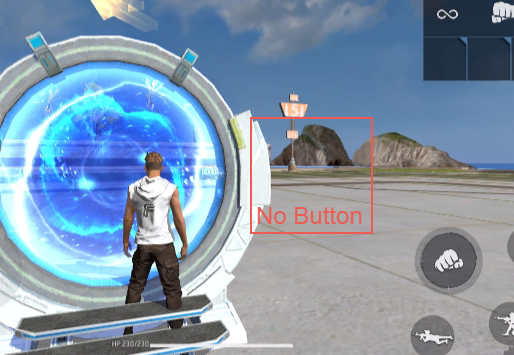
Objects that rely on collision triggers also do not trigger:
Use Physical CCT: If you select this option, a controller with custom physics will be used, and the relevant configuration will be expanded.
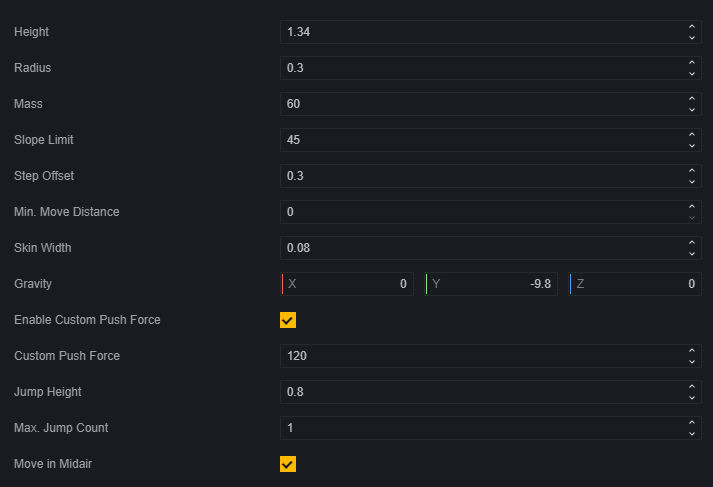
Height: The height of the character capsule collision body.
Radius: The radius of the capsule body, which cannot exceed 1/2 of the height.
Mass: The mass of the player.
Slope Limit: A slope with an angle greater than this cannot be walked up, and the player will start sliding down.
Step Offset: Allows the player to deviate from this configuration by this distance without leaving the ground or being blocked, often used when moving on stairs.
Min. Move Distance: If the character controller is to move a distance less than this value, the player will remain stationary.
Skin Width: The depth at which other objects are allowed to be embedded in the character’s collision body, used to avoid jitter or getting stuck.
Gravity: The acceleration due to gravity in three dimensions. For the player, this setting overrides the global physics settings.
Enable Custom Push Force: When enabled, the force applied when the character pushes a rigid body can be customized. Expand the relevant configuration when enabled.
Custom Push Force: The magnitude of the force applied when the character pushes a rigid body.
Jump height: The height of the jump when performing a multihop.
Max. Jump Count: The maximum number of jumps supported during each multi-jump.
Move in Midair: When enabled, players can change their movement speed and direction in the air.
Player script
Scripts attached to the module-player will be attached to each player. Please note that global events may be triggered multiple times, which may not be what you intended.
Generally, we will perform operations on the player and its components in the player script. Triggering via private events allows you to limit the scope of the triggered object:
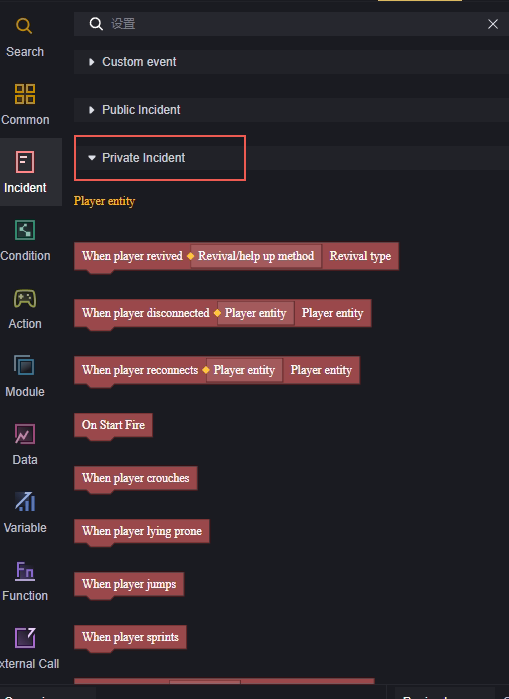
For example, when a player is resurrected, give the resurrected player an M4A1.

Among them, the private event “when the player is resurrected” is only triggered when the current player entity is resurrected.
Add an item. Add an M4A1 to this entity. This entity is the resurrected player itself, so the requirement can be met.
In actual editing, you also need to consider whether the weapon is full when the M4A1 is added.
If you use the public event “When the player is resurrected,” it will cause the corresponding logic for all players to be triggered once when a player is resurrected. Similar logic is recommended to be placed in the global script.

Configuring a script like this on the player module will cause all players to add an M4A1 every time a player respawns.

Configuring a script like this on the player module will cause the player to be added to the total